Punches….the difference?

Hi everyone

If you’re wondering why Stampin’ Up! Punches are so highly rated I’d like to give you my opinion on why this is….

For a few years now I’ve suffered with chronic back problems, having fractured it twice and having various other difficulties with it, so you can imagine why I’d want my crafting life to be as simple as possible! I’ve got my fair share of punches in my craft collection, I’m not going to name names as I do still use them and I think it’s unfair to give negative comments on another company without due cause, and one thing I’ve found across the board is I have to stand up and use significant force to ensure that the punch goes through the card/paper.  Now I know some of you will be thinking that I’m using too thick a card sheet, but I have tried the punches on everything from a simple sheet of paper to thick card.

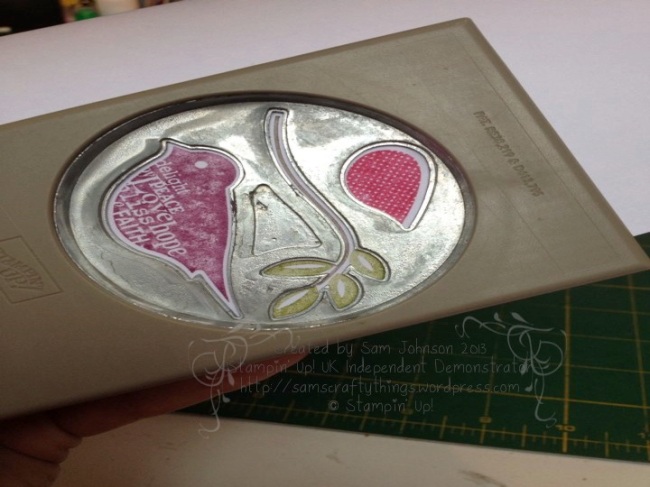
About 2 years ago I decided to invest in a Stampin’ Up! Punch – the builder bird one, and after I received it I was expecting the same problems with having to stand and using a lot of effort; however, this was not the case! These punches are so easy to use, you simply put in your card stock or paper and press with your fingers, or palm of your hand, and voila! you have the punched image with limited effort!

Don’t believe me? Here’s a picture taken whilst I was using the punch (hence the slight blur!)…..

Punch

Now I’m not saying that a fly could land on them and punch an image for you…! They do still need some pressure put to them but personally I’ve found these a breeze to use compared to some out there that have resulted in me swearing and breaking into a sweat trying to get them to punch through paper!

Hope this helps you!

Thanks for stopping by!

Sam

* All opinions expressed above are my own and I have not received any financial / personal gain for making the above statements.
Build a bird card

Hi all!

As promised here’s my first official Stampin’ Up! card, decided to give a brief tutorial with it, hope it helps…!

I started by cutting an A4 piece of ‘Very Vanilla’ in half (14.85cm) and then scoring it on a score board to create a card blank.

I wanted to use the colours ‘Rich Razzleberry’ and ‘Melon Mambo’ as the primary colours with the addition of ‘Old Olive’.

So, my next move was to stamp the ‘Blissful Bird’ image onto some white card stock, I did this by using the ‘Brights Stampin’ Write’ pens in ‘Melon Mambo’ for the birds wing, the birds body with ‘Rich Razzleberry’ and the twig with ‘Old Olive’ and ‘Early Expresso’

Image

Image

And I then used the ‘Builder Bird Punch’ (117191) to punch the image out to create 3 separate elements.

Image

Once this was done I decided to layer up a couple of strips of card stock on the card blank, this was done by measuring two strips of the ‘Razzle Raspberry’ and ‘Melon Mambo’ 14.8cm x 1.5cm and then using the ‘Tombow Multipurpose Liquid Glue’ I glued and attached the strips to the card blank and added an additional strip of ‘Melon Mambo Scalloped Dots Ribbon’ (122985)

Image


I then glued the bird to the card and stamped the ‘A Word for You stamp set – Happy Birthday with a cherry on top’ image to the opposite corner.  I also added some flowers stamped from the ‘Itty Bitty Shapes Punch’ as the card looked a bit bare! I then added some pearl accents to the flowers just to add an extra dimension to the card.

Image


Image

Let me know what you think, would love to hear your comments.

Thanks for stopping by!

Sam x

Equipment needed:

* Stampin’ Up products as listed (for additional order codes please click here for previous post, and here for the catalogues)

* Table Top Paper Cutter – 106959

* Simply Scored Metric Scoring Plate and Simply Scored Stylus – 127531 & 125624

* Ruler

* Pencil

* Glue Dots – 103683

* Pearl accents